If you would have asked me 2 years ago what I thought I would be doing today, my answer would not have been designing and sharing my crochet patterns. I have always just “made it up as I go” when I crocheted. I never really followed patterns (maybe like 1) and I never had a super organized way of writing my designs down, it was just chicken scratch and doodles in a notebook (still is actually lol).

I started making my designs available after the messy bun beanie craze hit. I remember the picture that went viral in November of 2016, you know the one, with the profile of the super cute chick wearing the colorful messy bun beanie. After that picture went viral, I started getting a ton of messages from people asking if I could make them a messy bun beanie. I wasn’t thrilled about it at first because all I wanted to make and market at the time were my stuffies, but I designed a handful of messy bun beanies anyway and the Claire Bun Beanie quickly became a crowd favorite. I listed them at midnight on December 31st (so technically 1/1/17) and I IMMEDIATELY sold one. I’ve been making messy bun beanies ever since.

As soon as other makers started seeing the Claire Bun Beanie I was getting a lot of messages from people asking me for the pattern. I had no idea where to start but I just kinda went with it! I took pictures of every step, googled “proper crochet terminology”, had my crochet bestie test it and voila! My first crochet pattern was available for purchase. I was so shocked by the response the Claire Bun Beanie received and that inspired me to design and list more crochet patterns.

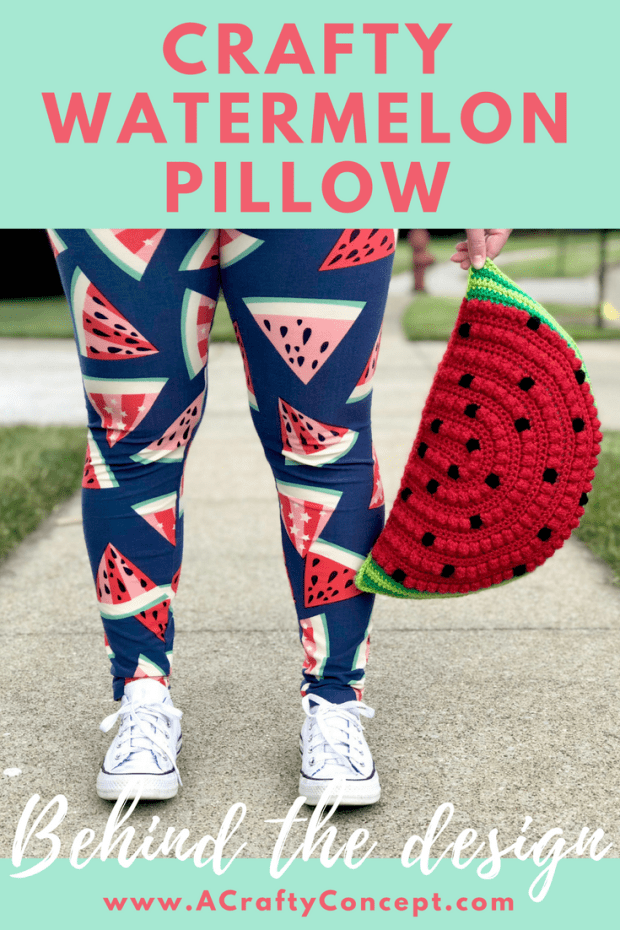
Now that you’re all caught up ????let’s talk Crafty Watermelon Pillow! This idea was suggested to me last summer from a couple different makers and I knew it was going to be my first pillow pattern released this summer! This pattern design went through a lot of trial and error. My first attempt, I was trying to make the “seeds” random throughout the design, after I did about 3 bobble rows I saw all my stinkin’ seeds were lining up! That didn’t look good at all!

So then I went for attempted number 2. For this pillow, I got the seeds the way I liked them, but I had the rind across the bottom of the pillow (instead of around the outside like it is now). I was pretty happy with it though and I showed it to my husband. He was very encouraging, as always; told me he loved the pillow, but then he asked if I could make one with the rind around the outside instead. So I picked up my hook and gave it a go.

Now we are at attempt number 3, turns out that design was way cuter!! But I also wasn’t super happy with the way I made the “seeds”. I kept thinking “how in the world am I going to describe this technique in words?” Not only was it complicated and hard to describe but it was also super messy and time-consuming. You had two tails to sew in after every seed bobble, and no one likes a project with a million tails to sew in! So I turned to YouTube, per usual, and found a better way to crochet the black bobbles, and that brings us to attempt number 4! I FINALLY FIGURED IT OUT!

I am really happy with this finished design. The Crafty Watermelon Pillow is so fun and summery. I love how you can use different color combos and get a completely different look! I used red in the pattern design because that matched my awesome Watermelon Mermaid hook by Harper Baby Shop on Etsy, but this pillow is also cute made with pink yarn or you could even get real funky and use coral and teal colors! I swear I’m just going to make one in every color combo and have them all over my house.????

If you want to crochet your own Crafty Watermelon Pillow, you can find the instant download in my Etsy shop and my Ravelry shop , or view the free version on my blog! Be sure to tag me in any pictures you post so I can see your handy work and the color combo you chose! Also, you can use the hashtag #CraftyWatermelonPillow so other makers can easily find your pic and see how awesome you did too! I hope you guys are having an amazing day and thank you so much for supporting my little shop!
➰Happy Crocheting➰
❤ Ashley
