Learn how to make this easy Crochet Rainbow Purse by following this free crochet pattern modification to the Bitty Boho Bag.
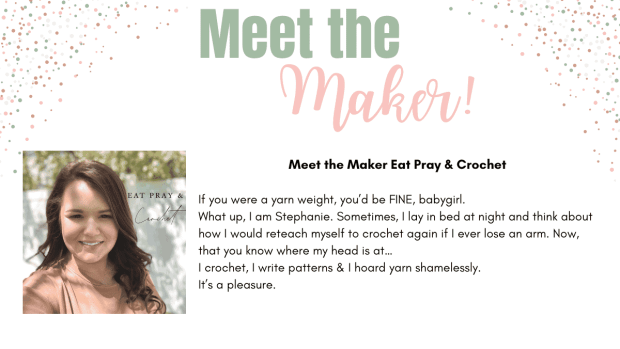
Created by Guest Designer Stephanie from Eat Pray and Crochet

Etsy: https://www.etsy.com/shop/EatPrayandCrochet
Instagram- https://www.instagram.com/eat.pray.and.crochet
This post contains affiliate links meaning I (Ashley) may receive a small commission from purchases made at no extra cost to you.
You can find the Ad-Free Version of the original Bitty Boho Bag Here
Two things are in almost every baby & toddler-focused crochet shop; toddler purses & the eternal rainbow aesthetic. Customers are going to be so excited for this combo of the two; adorable & super easy crochet rainbow purse mod on the already famous fave, the Bitty Boho Bag.
Materials
-G (4 mm) Crochet Hook
-Scissors
-Worsted Weight Yarn (3-4 oz needed) I used Hobby Lobby “I Love This Yarn
– Tapestry Needle
Finished Bag Sizing: Pouch is about 4.5” tall and 4.5” wide. The full height of the purse (from strap to fringe) is about 22 inches.
Stitch Key (US Terms)
SC = Single Crochet
CH = Chain
YO= Yarn Over
INC= Increase (Put two stitches in the same space. (In this case, it will be two SC stitches.)
SL ST= Slip Stitch
FSC= Foundation Single Crochet
*= To Be Repeated
Special Stitches
Back Bump: This is where you flip your starting chain over and insert your hook into the “back bump” of the chain and place your stitch there. If you are unfamiliar with this technique, I would suggest watching the original Bitty Boho Bag Pattern video. I show how to do it there.
Bobble: *YO, Insert hook into stitch and pull up a loop , YO and pull through 2 loops on your hook* Repeat 3 more times. Now you should have 5 loops on your hook. YO and pull through all 5 loops on your hook.
Foundation Single Crochet: This technique is really a time saver once you get the hang of it! Your row of single crochet will have more give than it would if you made a chain first and just single crocheted back down. This technique will be explained within the pattern.
Crochet Rainbow Purse Pattern
Follow A Crafty Concept’s Bitty Boho Bag Pattern up until the assembly portion, making sure to Color change at Rows 3, 5 & 8 (Row 8 will be same color as the border & strap of bag)
And of course, you can choose where you color change, these are just my suggestions per the photos you will see during this modification assembly.
Now that you have completed the front and back portions of your Bitty Boho Bag, go ahead and take a moment to admire your beautiful work, you amazing maker, you.

Now, place front & back together with right sides facing out. (Don’t dwell on which is the “right side” of the back piece; just choose your favorite side and go with it, baby!)

Turn your work upside down with front side facing you. Beginning at the top right corner, take working yarn, CH 1 and work 15 SC evenly across flat edge through both layers of bag.

Turn work clockwise 90 degrees. Work 12 SC up the side of bag.

Now, work 100 FSC for your strap, just as Ashley does in the original pattern, Sk 17 stitches on front & back, and crochet 12 SC back down the unworked side of bag to beginning SC. Sl St into first SC & fasten off.

The brim is also worked the same as it is in Ashley’s pattern.
Re-attach yarn to last SC before strap was made.


Now, work 1 SC in each of the skipped 17 stitches across top curve of rainbow (through front piece only).

Working around outside of the strap turn bag and work 1 SC in each of 17 skipped sts on back side of bag, just as you did the front. Sl St around outside of strap into the first SC of brim.

Now, you can add your fringe (see original pattern) or leave it with a clean edge. Don’t forget to sew in those ends (or if you’re like me, hide them and take pictures first, LOL) & you are all done with this adorable & ridiculously easy MOD to A Crafty Concept’s Bitty Boho Bag!
Don’t forget to grab your freebie! A free sheet of Rainbow Bag Product Tags!
Looking for more fun patterns for kids? Be sure to check out the Bitty Boho Bib, and this cute watermelon rattle– both free on the blog!
Happy Crocheting
❤️Ashley


