
Learn how to make a custom page for your business Instagram by following this easy link in bio tutorial. Canva tutorial for beginners.
With most social media accounts we only get space for one link to take our customers where they need to go. A way people have gotten around this is by creating a page with lots of links through a third party like Linktree.
The only problem with that is it’s very cookie cutter and not customizable to be specifically branded for your business.
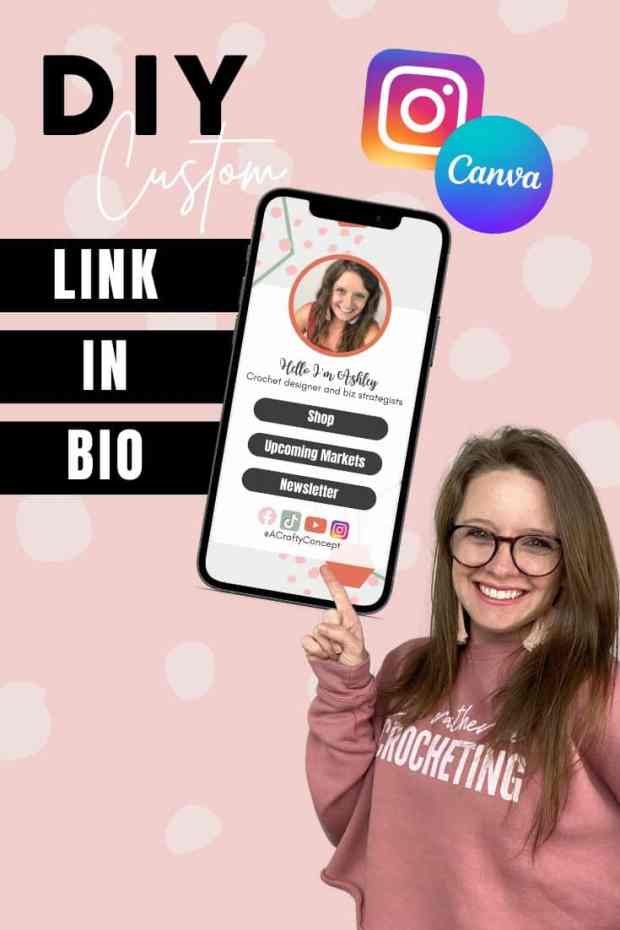
In today’s tutorial I’m going to show you exactly how to make a custom, branded page that you can link in your bio’s on social media. Best of all, this is going to be absolutely free and won’t cost you a thing!
We are going to be using Canva ! I use Canva for every graphic design aspect of my business.
I use it to create business cards, printables, Etsy Photos, and newsletter photos. I highly recommend it to any business owner!
I pay annually for the pro version and will continue to pay for it for the life of my business. I consider Canva Pro my secret weapon for my business.

If you are interested in getting Canva Pro, here is my affiliate link to sign up!
You do not need a Canva pro account to follow along with this link in bio tutorial.
Love video tutorials? Catch the detailed video tutorial of the process below!
Let’s go over how to create your site on Canva! I will take you step-by-step, sharing screenshots from Canva so you can follow along.

DIY Link In Bio Tutorial
Go to Canva.com and sign in or set up an account if you don’t have one already. I recommend doing this on Canva.com instead of inside the app.
Once you are logged in, click the search bar under “What will you design” and search the phrase “Bio Link”.

This page will pop up!

The templates with the small gold crowns on the bottom right corner are for Canva pro only, but don’t worry there are good free templates!
Scroll through all the options and try finding one that is closest to your style and aesthetic, that way you will have less customizing to do in the next steps.
Once you find the one you would like to use, click it and you will be taken to a page that looks like this-

Here is where we can customize it, change colors, add photos, all that fun stuff!
First change is the photo. You will want to use the same photo you use as your Instagram Profile Photo.
To upload a photo, on the left-hand side you will see a menu. 3rd option down is “uploads”. Click Uploads, and it will take you to this screen. Click the purple “Upload Files” button to add your photo.

Once your photo is uploaded, you will click the image and drag it over to your template where you want to place your photo. (In this template it is the circle at the top) The image should appear in the section you drag it to.

Next, we are going to change the wording under the photo and the “buttons”. They can say whatever you want!
Click on the textbox and erase the words that are there and write in what you want it to say.
Once your wording is changed to what you would like, let’s add some icons to the bottom to share your other social media platforms.
To add icons we are going to click the “elements” tab on the left-hand side (same area you found “uploads”)

Use the search bar and type “Facebook”.

If there is a little crown that means those photos are only for Canva pro users. If there is no crown, you are free to use the image!
Click on the one you want to use, and it will appear on your template. You can click the icon and drag it to the area you want, and you can also click to resize it to make it bigger, or smaller.
Repeat this for all the platforms you are on, like Tiktok, Youtube, etc. Search them under elements, and add the logo to the bottom of your template.

Once you have all your logos on the bottom, we want to line them up evenly.
To do that, hold down the shift key on your keyboard, and click on each logo. Then go to “Positions” in the upper right-hand corner and select “horizontally”. Then drag the group of logos to the center of the page. (You will get a red line once you are in the middle)


Next up in this link in bio tutorial… customization!
If you click on the “Style” button on the left-hand side menu, this is where you can find brand colors and fonts! (This is a Pro feature.)
If you have your brand colors and fonts already set up, you can click on them and it will change the colors on the template to your brand colors. You can keep clicking to shuffle through the color combinations.

If you do not have Canva Pro and want to change the color of things, no worries you can still do that! Click on the area/element you want to change the color of, go to the little square box toward the upper left corner and your color options will pop up.

If you want to remove things in the background, like in this template it has little leaves, you select the section and hit backspace/delete.

You can also add things to be in the background. If you go back to the “elements” menu, you can search for anything. I like to use little dots and hexagons.
Once you start adding elements to the background, you might run into an issue where your element is covering/on top of your words.
To push the element to the background you can click “position” in the upper right corner and click “backward”.

If you want the element to be a little faded or transparent you can click the checkered square right next to the “position” tab to change the transparency of your element.
Play around with the colors, fonts, and elements until it looks how you would like!
Once you have everything how you would like it, we are going to add links your items!
To add a link to the buttons we made, click the first one. (Mine is “Shop”) Go to the little chain link icon in the upper right corner next to the transparency tab. Enter your link there, hit enter.
Your text is now linked!

Repeat that for all the buttons you created, adding a link to each one.
You can also add links to those social media icons we added to the bottom!
Click on the icon, and add your link to that platform. Make sure it’s your specific URL profile, so when people click on that icon it will go directly to your page.
Last thing we want to do before adding this to our “link in bio” section, is change the name of this file on Canva.
You can find the title of it in the blue/purple bar at the top of the page, near the right corner. I changed mine to “A Crafty Concept Bio Link”. We want to do this because when people click our link in bio, they will be able to see the title of this page.

Now to turn this into a website!
Click the share button in the upper right-hand corner.

Select “more”. Click “website”.

Use the dropdown menu to select “scrolling”.

Click the purple “Open Website” button, to see how it will look and work!

Test out the buttons and make sure they go to the correct link!
Now all you have to do is copy the URL, and paste it wherever you want to share this. Add it to your Instagram, Tiktok, etc.

There are so MANY ways to customize these, so spend some time playing around on Canva and see what you can come up with!
Learn all the fun things you can add and change. You can really make these your own and make them stand out!

I hope you all found this link in bio tutorial helpful! If you have questions, never hesitate to reach out!
Be sure to check out this Canva tutorial for how to make your own DIY product tags!
If you made one of these fun link in bio pages, I would love to see it & cheer you on! Tag me on Instagram @ACraftyConcept
❤️Ashley!